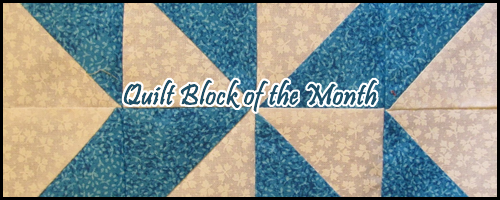
Quilt Block of the Month - June 2018
Author: Elanda Tonil, June 2018
This month we’re working on a block called a Flying Dutchman. It uses eight Flying Geese, which uses a similar technique to the one we used in our X’s and O’s block. It’s another of the most commonly used techniques in quilting. It's also one that can be unexpectedly difficult to get to line up with everything properly, so don't be discouraged if you need to fiddle some!
- Materials
Fabric A (first dark): cut 4 rectangles measuring 3.5” x 6.5”
Fabric B (second dark): cut 4 rectangles measuring 3.5” x 6.5”
Fabric C (light): cut 16 squares measuring 3.5” x 3.5”
- Tips
- I recommend pressing the internal seams on the Flying Geese open so that they lay flat and it’s easier to get sharp points in your block.
- When you sew your Flying Geese to each other, press toward the dark.
- When sewing the four internal blocks together, fan your seams like we’ve practiced. It will make the center seam much more manageable. You have eight pieces of fabric connecting in the middle--it will be too bulky to lay flat or effectively quilt if you don’t fan them.
- Step 1
Cut your fabrics. Make sure that you check for any stains or impurities in your pieces.
- Step 2
Use your preferred marking implement to mark the diagonal center line of your squares.
You’ll be laying them on your darks. Note that your lights will overlap by ½” in the center.
Pin the light squares onto the dark rectangles, lining up the edges so that they’re flush.
Sew on your marked line on each of your rectangles.
- Step 3
After you’ve sewn on your marked line, trim the excess fabric, leaving yourself with a quarter-inch seam.
Press that seam open, then pin another rectangle so the two seams will form a right triangle.
- Step 4
After completing the second seams, trim the extra fabric, again leaving yourself with a quarter-inch seam.
Press this seam open as well.
- Step 5
Lay your block out so that it forms a nice pinwheel in the center. This is a good time to square up your little blocks!
Pin carefully so that you get crisp corners. There are a lot of them in this block!
Sew your top row, then your bottom row. Then sew the two rows together. Be sure to fan your center seam.
And now you have a Flying Dutchman!
