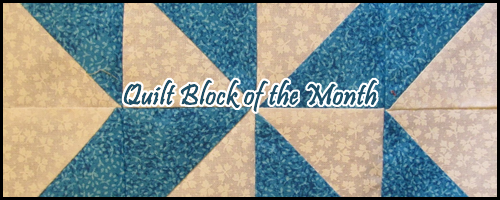
Quilt Block of the Month - December 2018
Author: Elanda Tonil, December 2018
Happy Holiday season!
This month we will learn one final technique through a block which makes me think of winter, but which is also nicely simple. I decided to do a simple block this month because who really has time for complex sewing during the winter holidays?
This block is a modified Ohio Star and we will be using a technique called quarter-square triangles.
In a traditional Ohio Star the center piece here would be blue to match the quarter-square triangles. I liked the white though because it felt more wintery to me. Feel free to do whatever looks best to you!
- Materials
White
Cut five (5) 4.5” x 4.5” squares
Cut two (2) 5.5” x 5.5” squares
Blue
Cut two (2) 5.5” x 5/5” squares
- Step 1
Take your larger squares and pair up the blue and white pieces, right sides together. As you’ve done before, trace a line along the diagonal.
Pin along the line.
Sew on each side of the line with a scant ¼” seam.
Make sure you press flat to set your seams. As you see above, the block on the left has not been set and the block on the right has been. A block pieced with set seams will line up much more easily and will look better.
Cut on your drawn line. Press to the dark fabric.
- Step 2
Lay your new half-square triangles on top of each other in pairs and nestle your seams.
Make sure opposite colors are paired up so white is lying atop the blue of the other block, and white is atop the blue of the other block.
- Step 3
Mark a new diagonal line perpendicular to the seam you just finished.
Pin along your new diagonal line. Pay special attention to pinning your seams in the center so they lie flat after being sewn.
- Step 4
Sew on each side of your newly-marked diagonal, with a scant ¼” seam.
Press again to set your seams.
Now cut on your drawn line. This will cross your previous seam and is the seam that creates the distinct hourglass shape of quarter-square triangle.
Press your seams. Be sure to fan your center seams to minimize bulk and make them lay flat.
Trim your quarter-square triangles so they are even and measure 4.5” square. When you trim them, make sure you keep the center points in the centers of your pieces.
- Step 5
Lay them all out in place. Make sure you get the orientations correct and to make sure you like the way it all looks.
Lay the pieces in the column on the right on top of the center column and pin those edges. Pin on the side with the seams facing up so you can ensure they will all lay flat.
Lay the pieces you’ve pinned atop the left column, keeping the correct edges together.
Sew the seams you just pinned.
Press your seams flat, then press toward the solid-white blocks to minimize bulk.
Pin the last edges, making sure you line up the corners and nestle the seams.
Sew these seams and voila!
Congratulations! You have now completed all of the blocks for a quilt top! Keep your eyes on the TVT in coming months to learn to combine all your blocks into a full quilt top. Thank you for joining me this year in this Quilt Block of the Month journey!
